Tips on Photography
Fortunately, you don’t need high-level photography equipment or experience to get the photos right. You just need to know exactly what to photograph, and use a few basic imaging techniques along the way.
 What to photograph
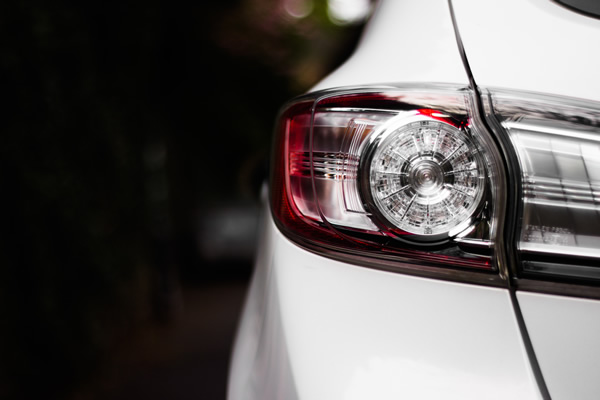
Tip #1: Capture all 4 the corners of the vehicle, inside and outside.
Tip #2: Capture the license plate and VIN.
Tip #3: Capture all collision-related damage. Do not leave out any area of the vehicle.
Tip #4: Capture all unrelated damage.
Tip #5: Photograph the dash.
Tip #6: Photograph damaged parts.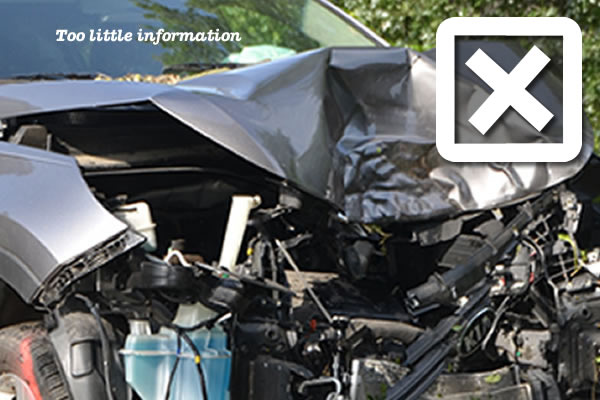
The more informative these pics are, the closer we can get to an accurate quote.
Consider light and shade
Proper lighting is extremely important in order to capture photos with the best possible clarity. You need enough light to see details in the image, but not too much light that it causes glare.
We had several instances when photos needed to be retaken multiple times because it is difficult to know whether a camera flash is needed the first time around.
To avoid rework, take two shots of each photo you capture – one with the flash and one without. Compare both images on your computer screen to assess which technique illustrates the most detail.
Reducing the photo’s file size from a mobile is easy. Here is how to do it.
When you take high resolution photos, you may have to reduce the size of the photo to be able to email them. Save them so the file size per photo is no more than 2MB (2000KB) in file size. This is adequate size for us to assess the damage and will email without an error.
If you need a mobile app to resize photos from your mobile, you can use one of the following:
Android:
- Photo Compress 2.0
- Reduce Photo Size
- Photo & Picture Resizer
Apple:
- Photo Compress
- Image Resizer+